The Great Shaft (part 3)
Having returned to Direbo, use the linking book to link to the Great Shaft. When you get there, leave the resting area and go left to the next elevator platform. As before, you will have to summon it first by pulling the lever on the left of the platform. There is another of Yeesha’s journals (read more) beside the lever. The cover depicts the birth of Yeesha, shortly before the events of Myst III: Exile. The text refers to those events; and Yeesha also ponders the ‘nature or nurture’ question: is she the Grower because she was trained to be, or because she always was from the start?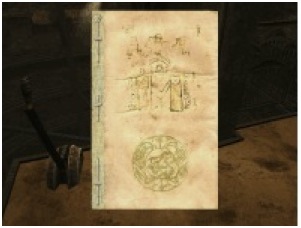
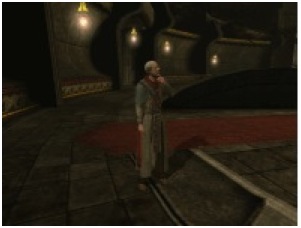
Take the elevator down to the next level of the Great Shaft. When you arrive, step off the elevator and go down the staircase—in the other direction there is nothing but a broken pathway. As you reach the bottom, Esher will appear and inform you that you are now three miles below the surface of the earth. However, proceed any further, you will need to bring fresh air to the lower part of the shaft—Esher says that you will need to raise the floor and start the fans (read more).
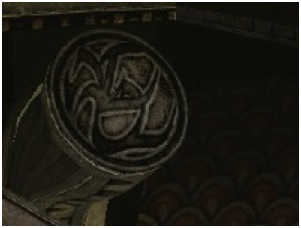
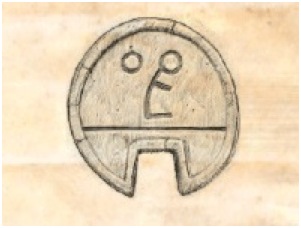
Go right to the end of the red carpet and look down; you’ll see the floor that Esher was talking about. The glyphs on the walls should be recognisable as D’ni letters if you look closely. They form the D’ni word “tihwah” (or “tiwa” in the New Transliteration Standard), which means “shaft”.


Continue walking around the edge of the shaft until you reach a staircase on you left. When you reach the landing you can turn right and continue down the stairs. Eventually you will reach some kind of a device with a blue button on top of it, and one of Yeesha’s journals (read more) nearby. The cover depicts Sirrus and Achenar’s escape from their Prison Ages in Myst IV: Revelation.
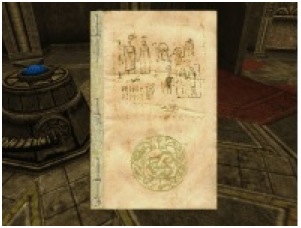
On the last page is a Slate glyph; from the context, it may be apparent that this one means “sing”.
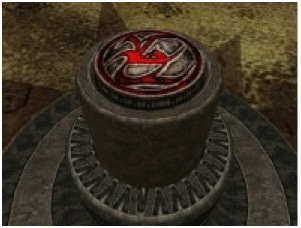
Press the blue button now. The lever switches to the opposite side, and then begins to return to its original position. It’s a timer! Quickly follow the stairs down another level, and you will find that you have reached the floor of the shaft. Walk (or run!) right across the floor to the opposite side, where you will find a staircase leading upwards. Follow this until you come to a device identical to the last but with a yellow button. Press that, at the timer will begin here too. Return to the main floor once more, where you will see that a small pillar that you passed on your way across has elevated, the shaft glyph illuminated red. Touch the glyph, and with a rumble the floor will being to rise, taking you back to the level where you last spoke with Esher.
There are four exits from the floor now; one leads back to the staircase you descended after arriving on the elevator. Take the exit opposite, and you will be able to enter a small room which, judging from the large machine on the right and the pipes running across the ceiling, must contain the fans Esher mentioned.
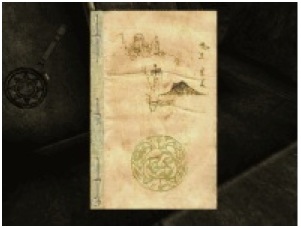
In front of the machine is the next journal (read more) by Yeesha. The cover of this one depicts the adult Yeesha leaving her parents in order to begin a journey of self-discovery, and the text describes emotions she felt at that time.
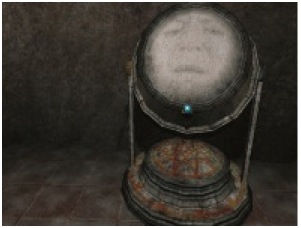
Throw the switch and the machine will whirr into action. Now turn left, where you will see a small doorway into the next resting area. This room is furnished similarly to the other two you have already visited; and, like the topmost resting area, there is an imager with a message from Yeesha (read more). Start the message playing by pressing the blue button.
When you have finished listening to the message, go to the linking book and link to Direbo. When you arrive you should open the two bridge gates, granting you access to all but one of the islands; then enter the sphere and touch the illuminated glyph on the pedestal. You will then link to the next Age, Noloben.
––––––––––
previous << | >> next