Noloben (third to final pedestal)
While you’re here you should probably take the opportunity to try out the “snake” glyph you found among Esher’s notes. The snake glyph, Esher said, will frighten the Bahro; and what he meant will become clear the moment you drop it on the ground and back away. A Bahro will appear, and struggle to make out the glyph; as it recognises the glyph , it will let out a shriek and recoil in horror; then it disappears. About 90 seconds later, a Bahro will appear and pick up the Slate as if nothing had happened: the glyph has faded in the interim.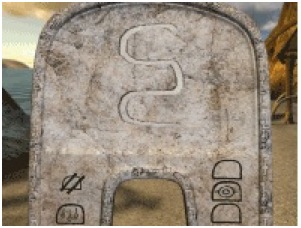
Now you know how the snake glyph works, you should return your attention to the glyph of the third pedestal. The write it on the Slate and back away. As usual, a Bahro will appear and transport the Slate to the third pedestal. It seems that, while they will not enter the laboratory, the roof of the dome is acceptable to them. Then return to the third pedestal yourself.
Opposite the pedestal you will see a large glass lens of some kind, with a smaller lens in front of it. On the ground is the same symbol of a tree that you saw on the boulder blocking the entrance to the cave on the small island you visited earlier. As you stand on the symbol in order to look through the lens, it lights up; and through the smaller lens you can see the smaller island. What you thought was a boulder seems to fall to the ground like sand; and inside the cave, you can clearly see the Keep.
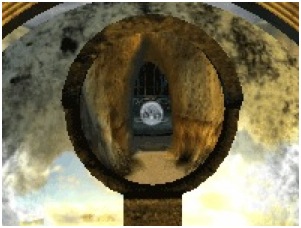
However, as you step away from the lens, the symbol beneath you fades and the cave entrance is sealed once again. This is a pressure-pad type of puzzle, and you have already encounter one of these before: in the first cave of Tahgira, when you used the Slate to make a Bahro stand on the ice so that it would crack. The solution to this puzzle is in principle the same: you need to get one of the Bahro to stand on the tree symbol long enough for you to link back to the first pedestal, run along the beach, through the tunnel, and over the sand bank to the small island. That will take quite a bit of time; the difference from the puzzle in Tahgira is that you need a Bahro to remain stood on the pressure pad for 30 seconds or so—or to stand on it 30 seconds after you drop the Slate, during which time you can reach the small island.
The only glyph which will do the trick is “snake”. Some glyphs, such as the one for “rain” you used earlier, cause the Bahro to leave the Slate where it is, giving you time to pick it up again. But the Bahro will still return for it if you don’t pick it up, and the interval is not long enough for what you need here. The snake glyph actually frightens the Bahro away; they take a lot longer to come back for the Slate. And the 90 seconds or so it takes are enough for you to make it to the small island comfortably.
Write the snake glyph on the Slate and drop the Slate onto the tree symbol. As you move away, the symbol will once again fade but don’t worry about that. Go to the third pedestal and link to the first, then head left along the beach until you find the tunnel on the left, and walk to the other beach. Once there, wade out to the island. A short while later, the ‘boulder’ will turn to sand and fall to the ground, leaving just the now-illuminated tree symbol. Presumably, both symbols light up when someone stands on the one above the dome.
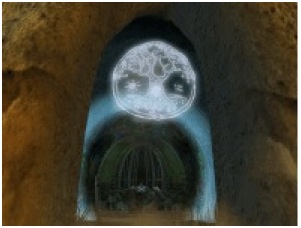
A moment after you enter the cave, the ‘boulder’ will reconstitute itself behind you, blocking your exit; but the final pedestal is in front of you. Note down the glyph, then link to the first pedestal.
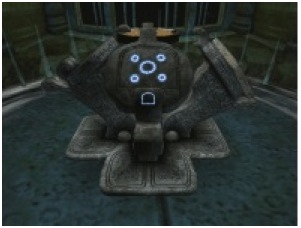
Follow the usual procedure, writing the glyph on the Slate and waiting for the Bahro to take it to the Keep. Then link to the Keep again. Esher will be waiting for you; he seems quite agitated to begin with, accusing you of succumbing to doubts placed in your mind by Yeesha. Then he calms down a little, and suggests that there might be another way in the end. If you take the Tablet to Myst Island, it will be safe from Yeesha. “Be alert,” he says, “a choice awaits” (read more).
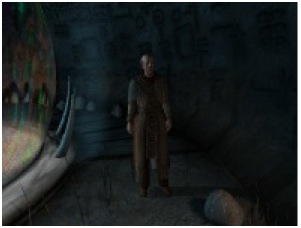
After Esher has left, you should touch the Slate on the pedestal to turn it corporeal; then return to the first pedestal, and back to Direbo, in order to continue to the next level of the Great Shaft.
––––––––––
previous << | >> next