The Great Shaft (part 4)
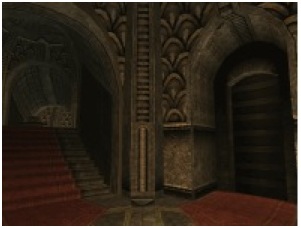
After returning to Direbo, use the linking book to link to the Great Shaft. When you arrive in the resting area, you’ll hear the sound of the fans coming from the next room; so, remembering what Esher said last time you were here, you should be able to progress to the next level.Last time you were here you had to raise the floor from the bottom of the shaft, and that allowed you to cross to the other side on this level. If you return to the bottom now, you should be able to to see what was underneath the floor. However, when you walk down the staircase to the bottom level, you’ll find that the way is now blocked.
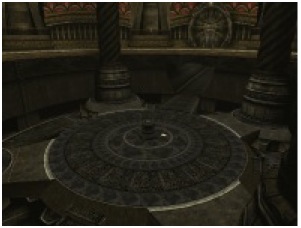
You’ll need to find another way to access the bottom level of the shaft. Go back to the third level and to the pillar in the centre of the raised floor; press the glyph again, and the floor will lower. Once it reaches the bottom, press the glyph once more (if you’re a bit slow in doing this, you’ll have to trigger the timers on either side first), but instead of staying on the floor and travelling up with it, walk to the very edge of the shaft; the floor doesn’t raise there, and you’ll be left on this level. If you do this too slowly, you may have to jump off the edge of the floor as it starts to rise.

Looking around, you’ll see that the floor is raised by a series of counterweights, some of which block the entrance to the staircases from the level above. In the area underneath where the floor used to be—which you can access by any of three ladders—there seems to be another pillar like the one for raising the floor, and one of Yeesha’s journals lying next to it. There is also a tunnel which passes directly underneath a locked door.
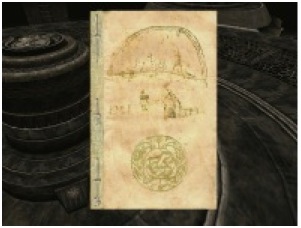
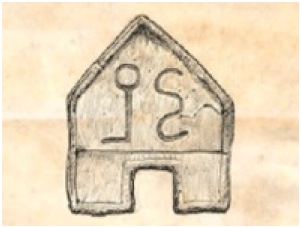
Climb down one of the ladders and pick up Yeesha’s journal (read more). This one describes the abject solitude of her quest for self-knowledge, and then her befriending of Calam, a D’ni scholar. He taught Yeesha the Art of Writing, while she, with no sense of D’ni cultural taboos, pushed him to ask forbidden questions about the Art. Together they learned of the slavery of the Bahro to the Tablet; and then he was murdered. The cover illustration depicts their meeting.
On the last page of the journal a (badly written) D’ni word is to be found. After some discussion, it seems to spell “kehpihk” or “kepik”, but its meaning is unclear.
![]()
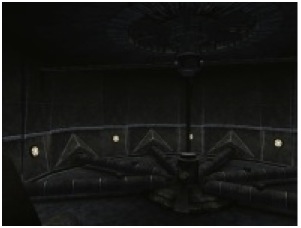
Pressing the glyph will lower the floor again, but there is no need to do so. Instead, head along the tunnel: at the end you will find a series of pipes, and a lever in the middle. Flip the lever the left, and a fan will start up overhead (according to the official Myst V Guide, this is an exhaust fan).
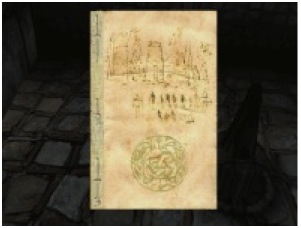
Behind you in the tunnel, a ladder will fall from one of the holes in the ceiling. Go back and climb up it; at the top, turn left and walk towards the closed door. Nearby you will find a lever which opens the door when you move it to the right, allowing access to the main shaft; and on the floor, another of Yeesha’s journals (read more). The cover image depicts, and the text describes, how, after avenging herself upon Calam’s murderer, Yeesha became the champion of the Bahro’s cause, seeking their freedom, but ultimately failed through her pride.

On the final page is a sketch of a Slate with two glyphs, one which you should now recognise as “snake”. What is odd is that it appears alongside another glyph—are these separate instructions for the Bahro, or do the two of them for a single, new glyph? From the context, we might refer to the Slate as “pain”.
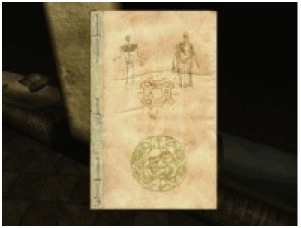
Now head back along the corridor to the open door at the other end, and you will find yourself in a large room above the exhaust fan. Go right towards the closed door; next to it is a broken lever (the handle lies in front of the door) and still another of Yeesha’s journals (read more). Both cover and text are concerned with people returning to D’ni and starting to rebuild—the D’ni Restoration Council—and some of them choosing to follow Yeesha.
Through the final remaining door you will find another rest area; it seems that the way to D’ni must lie behind the door with the broken lever. To your left as you enter the room is a linking book, then an imager, and in the second alcove, the last of Yeesha’s journals (read more). The cover shows Yeesha and Esher, symbolising the choice you will soon have to make. The text describes her frustration at having failed; and says that she cannot simply say what must be done, since that would possibly taint the act. Instead, she describes a dream; read it carefully, for it may provide you with a clue about how to succeed.
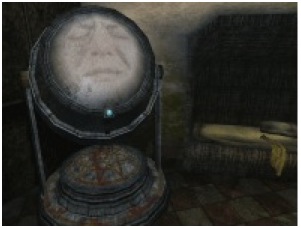
Now turn to the imager, activate it by pressing the blue button, and listen to Yeesha’s final message (read more).
Having listened to the Yeesha’s final message, you should go to the linking book and link to Direbo. Open the gates on the island, giving you access to all of Direbo; then enter the sphere and press the glyph on the pedestal. You will be taken to the final Age, Laki’ahn.
––––––––––
previous << | >> next