Noloben (first to second pedestal)
Leave the sphere and turn left. You’ll see Esher kneeling on the sand in the distance. Walk towards him and he will speak, telling you that he fled to this Age after D’ni fell. However, it was also the home-world of the Bahro, and it is clear that the new neighbours did not get along very well (read more).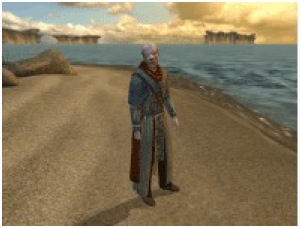
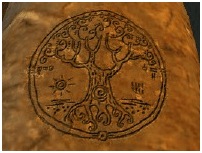
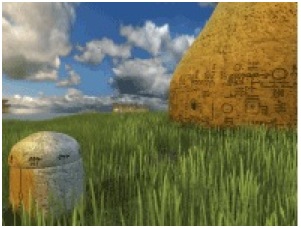
Continue walking along the beach until you come the corner of the cliff-face, where you will find a dais under a canopy. The canopy doesn’t look like it would be very successful at keeping off the rain, as it has four large holes it it. On the dais itself are what seem to be bowls of some kind, with grooves carved behind each at something like 315° angles, or pointing towards 10:30 on a clock face. In the centre is a large egg-shaped dome; and behind the dais, engraved on the wall, are a variety of glyphs, none of which you recognise.
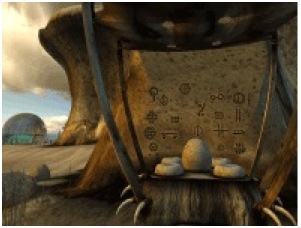
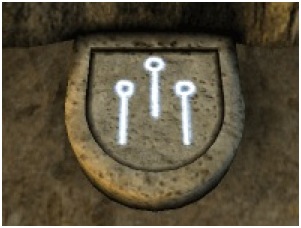
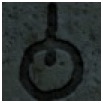
However, at the foot of the dais is a sight that should by now be familiar: an illuminated glyph of the kind which you write on Slates. It’s a fair bet that this is the Ages’s environmental manipulation glyph. It consists of three lines with circles at the ends, but notice the shape and position of the piece of stone the glyph is engraved on: if that represents the Slate, then from where you are standing, the glyph is upside down. The circles need to be drawn at the bottom if the Slate, not the top!
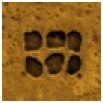
Go back to the sphere to collect the Slate, then return to the dais. Then draw the glyph on the Slate (if you want to make sure you’re drawing it correctly, check the Slate Guide), leave it on the sand for the Bahro, and wait to see what happens. After the blinding flash of light, it will start to rain, and as you approach the dais again, you’ll see rainwater streaming through the holes in the canopy, and into the bowls. As the rain stops, and the water in the bowls settles, you will see that the water in each bowl reflects four of the glyphs from the wall; note these down, as well as their positions relative to each other. After about a minute, the water will drain away.

Continue walking up the beach, away from the sphere, and you will see a tunnel entrance on your left, which you should enter; on the way, you may encounter a snake or two, but they seems harmless, ignoring you and disappearing down a small hole in the ground. Eventually you will come to another beach. As you walk along the shore, look at the largest of the islands: you’ll find that you can actually walk out to this island via a sand-bank.
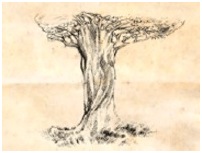
When you get there, you will find that there seems to be a cave entrance, but that it is blocked by a large boulder. Notice the inscription on the boulder: it should remind you of a sketch in Yeesha’s fifth journal, in which she talked about being The Grower for the first time.
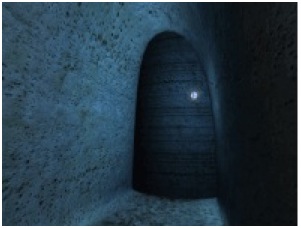
Turn around and head back to the beach; as you do so, you will see a dome above the cliffs—perhaps you can find some way of climbing the cliffs? Walking along the rest of this beach will reveal nothing of interest, so you should return to the first beach. You haven’t yet explored on the other side of the sphere so go there now. The cliffs take a sharp right turn, and if you follow this you will come to another tunnel entrance. A short way inside you will find your way blocked by a large, and clearly man-made, column.
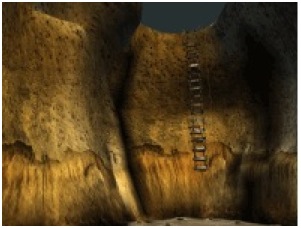
Outside, as you walk further along the cliffs, you will come to a series of snake-holes, and a handle on a cord; looking up, you can see that it is attached to a rope ladder. Pull the handle, and the ladder will unfurl, allowing you to climb to the plateau above (you can’t do this if you’re carrying the Slate).
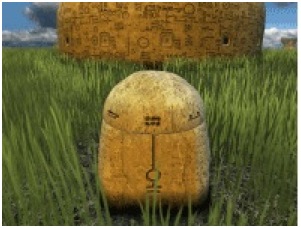
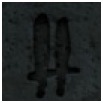
When you reach the top, you should explore the plateau; aside from the large dome, there are four smaller stone pillars. These pillars have rotating tops with glyphs engraved on them, and the same glyphs are to be found covering the dome. Unfortunately, none of these match the glyphs which were reflected in the bowls on the dais below when you used the Slate to summon rain. It is fair to assume that these glyphs are Bahro writing.
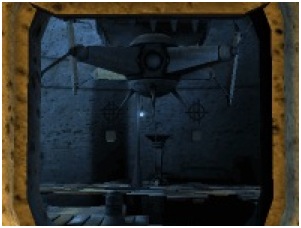
The large dome itself has fifteen small windows; inside there seems to be a laboratory of some kind, presumably Esher’s. As you peer through each window, you can see that above each window on the opposite wall there is glyph, and that these are distinctly similar to those in reflected in the bowls.
Clearly, every glyph on the outside is paired with one on the inside. By now you should be able to piece together the task in hand. First of all you will need to pair the two sets of glyphs, by walking around the dome, noting the glyph on outside of the window, and then looking through the window to notice the which glyphs are on the opposite wall. By using a couple of open windows as refernce points, you should then be able to pair off the two sets of glyphs. Then cross-reference the glyphs reflected in the bowls, and you will have the correct Bahro glyph for each of the pillars. For more information about the glyphs here, visit the Noloben Glyphs and D’ni Numerals page.
By recalling the angle of the grooves behind each of the bowls, and comparing that with the angle of the shadow cast by each pillar, it should be possible to determine which pillar corresponds to which bowl. When you have done that, rotate the top of each pillar so that the correct glyph lines up with the vertical groove on the front of each pillar. In the case of the first pillar to the right of the rope ladder (if you’re facing the dome), it should look like this:
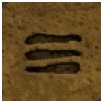
The correct solution for all the pillars is given below; from the pillar pictured above, proceed anti-clockwise through the rest of the pillars and glyphs.
|
Ladder
But what does all this achieve? As you turn the top of each pillar, you’ll hear a deep grinding sound which lasts much longer than the act of turning the pillar itself. The top of each pillar turns something in the earth beneath it.
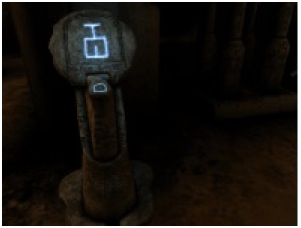
Climb down the rope-ladder, and collect the Slate from the sphere; then return to the tunnel which was previously blocked by a man-made column. You now have have free passage along the tunnel, and you will go through three more of the same kind of columns. Each column corresponds to a pillar; when you rotated the top of the pillar, you rotated the column beneath.
After you have passed through the fourth of these columns, the ground will become a little steeper, and after a few more steps you will find yourself at the bottom of the laboratory you glimpsed through the windows in the dome. Noloben’s second pedestal is just over to your left. If you draw the glyph on the Slate and leave it on the floor, however, no Bahro will appear. You’ll have to place it on the pedestal yourself, and test whether you drew it correctly by linking back to the first pedestal and checking whether the glyph is illuminated.
––––––––––
previous << | >> next